
GitHubでは、リポジトリという単位で、ドキュメントやソースコードを管理することができます。
本記事では、GitHubでの新規リポジトリの作成方法を紹介します。
GitHubでの新規リポジトリの作成方法を紹介します
この記事でわかること
- 新規リポジトリの作成方法
目次
GitHubとは
GitHubは、ソースコードやドキュメントを管理するツールです。


リポジトリの作成方法
リポジトリの作成方法を紹介します。
GitHubのホームページにアクセス
GitHubのホームページにアクセスします。
ブラウザ画面

リポジトリを選択
リポジトリを選択します。
ブラウザ画面
リポジトリを作成を開始
リポジトリを作成を開始します。
ブラウザ画面
リポジトリ情報を入力
リポジトリ情報を入力します。
ブラウザ画面

リポジトリを作成
リポジトリを作成します。
ブラウザ画面

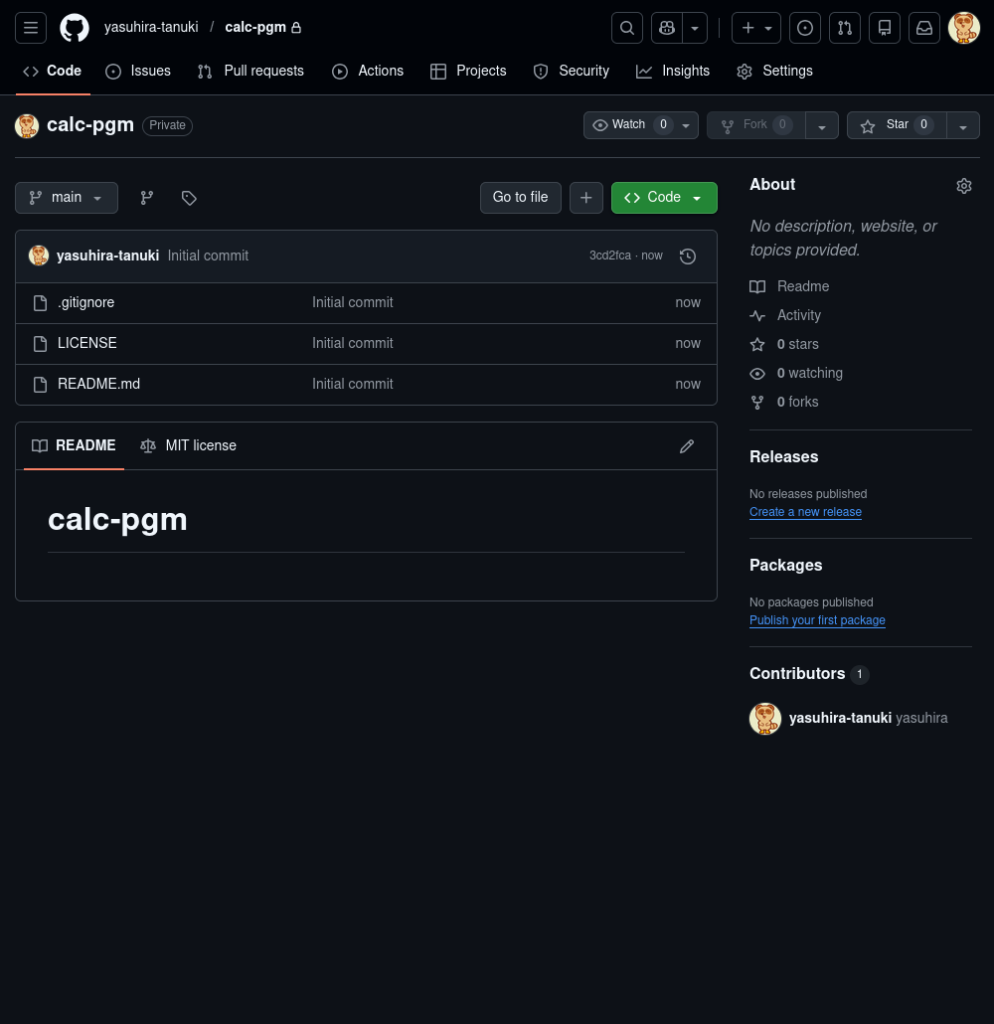
リポジトリを確認
リポジトリを確認します。
ブラウザ画面
ローカルで作業ディレクトリを作成
ローカルで作業ディレクトリを作成します。
コマンドライン
mkdir [作業ディレクトリ]コマンド実行例
$ mkdir calc-pgm
$ ls
calc-pgmローカルの作業ディレクトリに移動
ローカルの作業ディレクトリに移動します。
コマンドライン
cd [作業ディレクトリ]コマンド実行例
$ cd calc-pgm/
$ pwd
/home/user/calc-pgmローカルの作業ディレクトリを初期化
ローカルの作業ディレクトリを初期化します。
コマンドライン
git initコマンド実行例
$ git init
hint: Using 'master' as the name for the initial branch. This default branch name
hint: is subject to change. To configure the initial branch name to use in all
hint: of your new repositories, which will suppress this warning, call:
hint:
hint:     git config --global init.defaultBranch <name>
hint:
hint: Names commonly chosen instead of 'master' are 'main', 'trunk' and
hint: 'development'. The just-created branch can be renamed via this command:
hint:
hint:     git branch -m <name>
Initialized empty Git repository in /home/user/calc-pgm/.git/
$ ls -ltra
total 12
drwxrwxr-x 4 user user 4096 Mar  9 17:38 ..
drwxrwxr-x 3 user user 4096 Mar  9 17:40 .
drwxrwxr-x 7 user user 4096 Mar 9 17:40 .gitGitHubのリポジトリURLを確認
GitHubのリポジトリURLを確認します。
ブラウザ画面

ローカルの作業ディレクトリにGitHubリポジトリを登録
ローカルの作業ディレクトリにGitHubリポジトリを登録します。
コマンドライン
git remote add origin [リポジトリURL]コマンド実行例
$ git remote add origin https://github.com/yasuhira-tanuki/calc-pgm.gitmainブランチを作成
mainブランチを作成します。
コマンドライン
git branch -M mainコマンド実行例
$ git branch -M mainGitHubリポジトリからローカルに更新
GitHubリポジトリからローカルに更新します。
コマンドライン
git pull origin mainコマンド実行例
$ git pull origin main
Username for 'https://github.com': yasuhira-tanuki
Password for 'https://yasuhira-tanuki@github.com':
remote: Enumerating objects: 5, done.
remote: Counting objects: 100% (5/5), done.
remote: Compressing objects: 100% (4/4), done.
remote: Total 5 (delta 0), reused 0 (delta 0), pack-reused 0 (from 0)
Unpacking objects: 100% (5/5), 1.81 KiB | 464.00 KiB/s, done.
From https://github.com/yasuhira-tanuki/calc-pgm
 * branch            main       -> FETCH_HEAD
 * [new branch]      main       -> origin/main
$ git branch
* main
$ ls
LICENSE README.mdファイルを登録
ファイルを登録します。
コマンドライン
git add [追加ファイル/ディレクトリ]コマンド実行例
$ ls
CLAUDE.md  LICENSE  Makefile  README.md  build  calc-pgm  include  src
$ git status
On branch main
Changes not staged for commit:
  (use "git add <file>..." to update what will be committed)
  (use "git restore <file>..." to discard changes in working directory)
    modified:   README.md

Untracked files:
  (use "git add <file>..." to include in what will be committed)
    CLAUDE.md
    Makefile
    calc-pgm
    include/
    src/

no changes added to commit (use "git add" and/or "git commit -a")
$ git add .
$ git status
On branch main
Changes to be committed:
  (use "git restore --staged <file>..." to unstage)
    new file:   CLAUDE.md
    new file:   Makefile
    modified:   README.md
    new file:   calc-pgm
    new file:   include/display.h
    new file:   include/lexer.h
    new file:   include/parser.h
    new file:   include/value.h
    new file:   src/display.c
    new file:   src/lexer.c
    new file:   src/main.c
new file: src/parser.cファイルをコミット
ファイルをコミットします。
コマンドライン
git commit -m "[コメント]"コマンド実行例
$ git commit -m "add: first commit"
[main 1f43d85] add: first commit
 12 files changed, 1314 insertions(+), 1 deletion(-)
 create mode 100644 CLAUDE.md
 create mode 100644 Makefile
 rewrite README.md (100%)
 create mode 100755 calc-pgm
 create mode 100644 include/display.h
 create mode 100644 include/lexer.h
 create mode 100644 include/parser.h
 create mode 100644 include/value.h
 create mode 100644 src/display.c
 create mode 100644 src/lexer.c
 create mode 100644 src/main.c
 create mode 100644 src/parser.c
$ git status
On branch main
nothing to commit, working tree cleanGitHubへプッシュ
GitHubへプッシュします。
コマンドライン
git push -u origin mainコマンド実行例
$ git push -u origin main
Username for 'https://github.com': yasuhira-tanuki
Password for 'https://yasuhira-tanuki@github.com':
Enumerating objects: 18, done.
Counting objects: 100% (18/18), done.
Delta compression using up to 4 threads
Compressing objects: 100% (16/16), done.
Writing objects: 100% (16/16), 28.75 KiB | 1.69 MiB/s, done.
Total 16 (delta 0), reused 0 (delta 0), pack-reused 0
To https://github.com/yasuhira-tanuki/calc-pgm.git
   3cd2fca..1f43d85  main -> main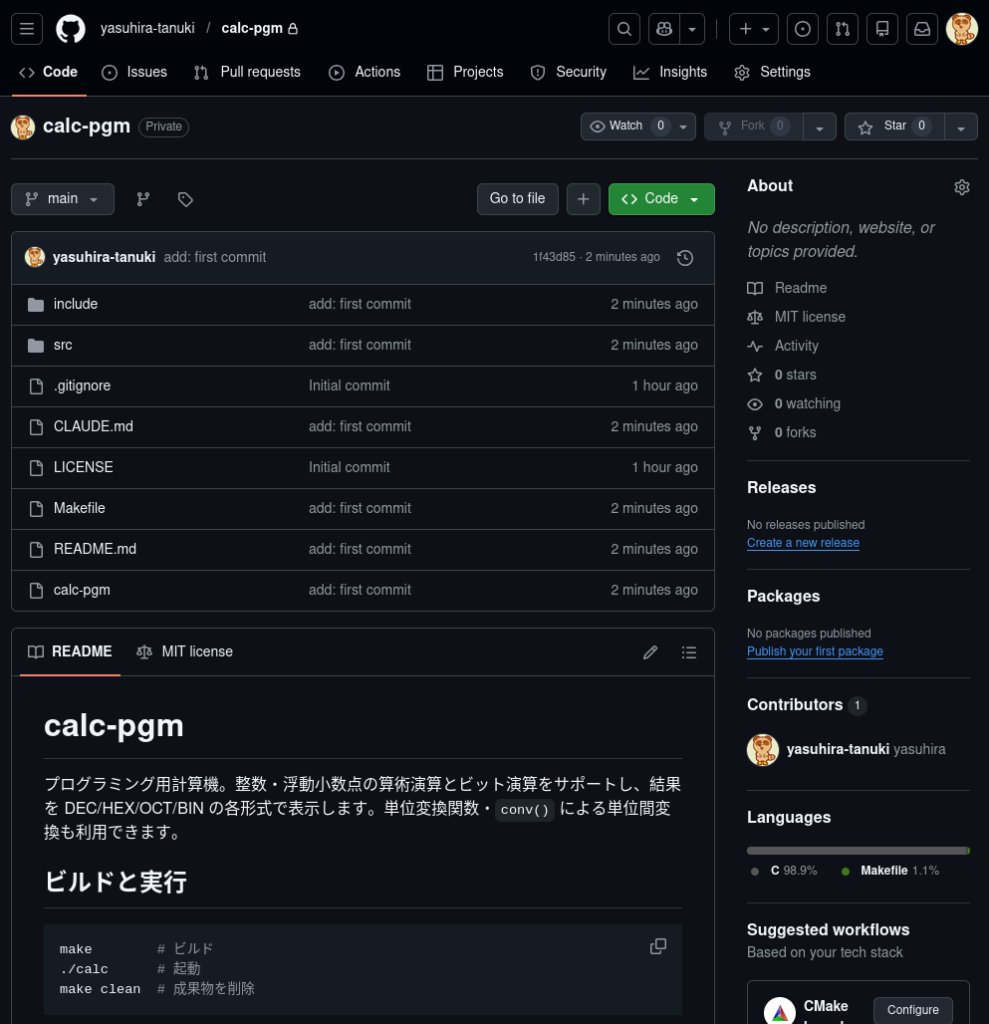
Branch 'main' set up to track remote branch 'main' from 'origin'.リポジトリを確認
リポジトリを確認します。
ブラウザ画面
まとめ
GitHubのリポジトリの作成方法を紹介しました。
GitHubのリポジトリは
- ブラウザでリポジトリを作成する必要がある
- ローカルで作業フォルダを作成する必要がある
- リモートとローカルを連携する必要がある
- ローカルと連携できたらリポジトリを更新できる
GitHubで新しいリポジトリを作成する方法を紹介しました。
GitHubでファイルやディレクトリ、ソースコードを新しく管理する場合に、本手順が必要になります。